How to take a screenshot on your iPhone
Capturing a screenshot on your iPhone is incredibly useful for saving important information, sharing your screen with others, or documenting an issue. Whether you have an iPhone with Face ID or Touch ID, the process is straightforward. Here’s how you can do it.
Take screenshots on iPhones with Face ID
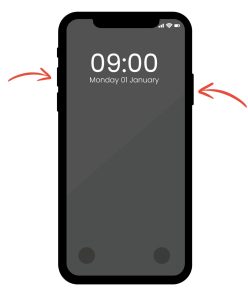
For iPhones with Face ID (iPhone X and later), follow these steps:
Simultaneously press and hold the “Side button” (on the right side of your iPhone) and the “Volume Up button” (on the left side). Quickly release both buttons.
A thumbnail of your screenshot will appear in the lower-left corner of the screen. Tap on it to edit, share, or save it. If you ignore it, the screenshot will automatically be saved to your Photos app.
Take screenshots on iPhones with Touch ID
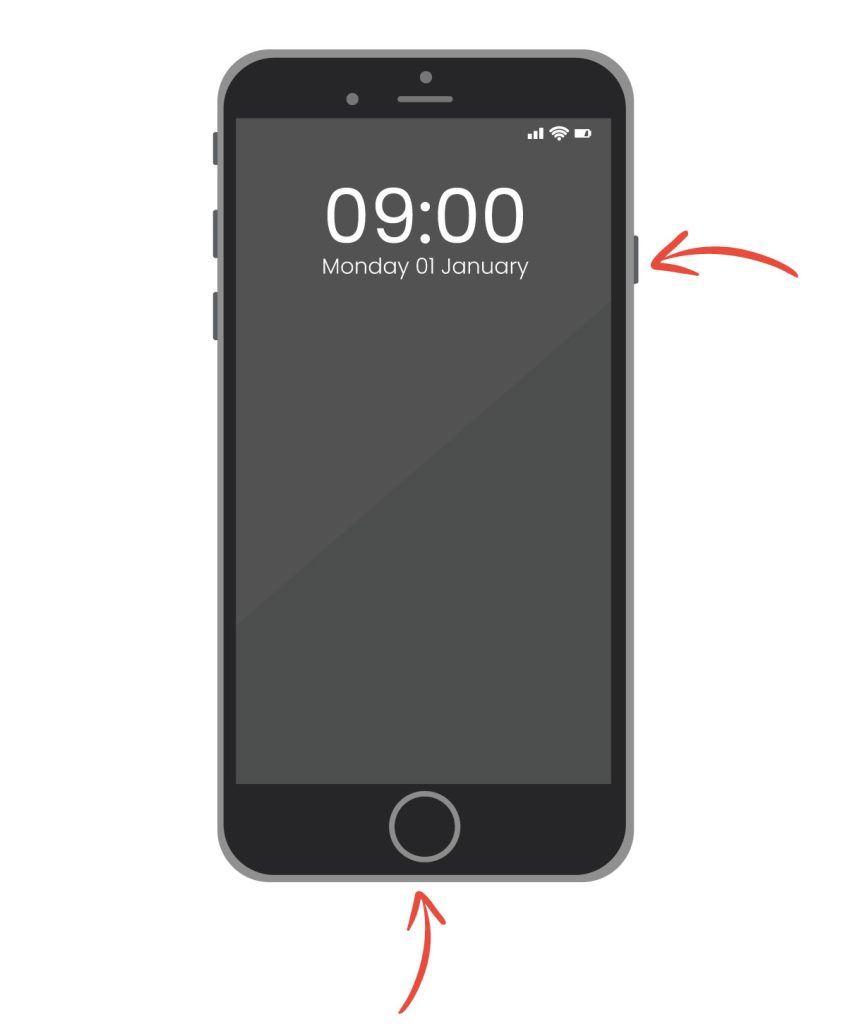
For iPhones with Touch ID (such as the iPhone 8 and earlier), follow these steps:
Press and hold the “Side button” (or Top button, depending on your model) and the “Home button” simultaneously. Quickly release both buttons.
As with Face ID models, a thumbnail of your screenshot will appear in the lower-left corner. Tap on it to edit, share, or save it. If ignored, the screenshot will save automatically to your Photos app.
With these simple steps, you can easily capture and manage screenshots on any iPhone model.
Where to find iPhone screenshots?
On an iPhone, screenshots are saved directly to the Photos app. You can find your screenshots by following these steps:
Open the Photos App:
Locate and tap on the Photos app on your iPhone’s home screen.
Navigate to the Screenshots Album:
Tap on the “Albums” tab at the bottom of the screen.
Scroll down to the “MediaTypes” section and tap on “Screenshots” This album contains all the screenshots you have taken.
Screenshots also appear in the “Recents” album within the Photos app, which can be found in the “Library” tab.


